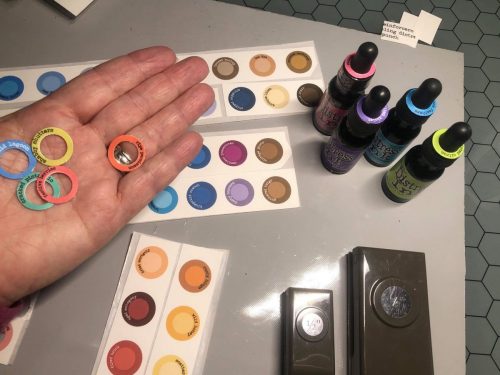
I finally bit the bullet and purchased the remaining Distress Reinkers. Organizing your Distress Refills and other Ranger/Holtz products are a must! The Ranger website has some great organization tools/labels to help you stay organized. Here is a link to the label system for most of the Ranger products, Ranger organizational tools/labels. Here is a photo of the finished product with my Distress Ink Refills.

Here are the steps that I did to create these Distress Reinker labels:
- Print the labels for the product that you need to organize onto a white cardstock.
- Attach those labels to double sided adhesive sheets. This helps the items stick to whatever product you want them to.
- I used a paper cutter to cut the columns of circles for easier punching.
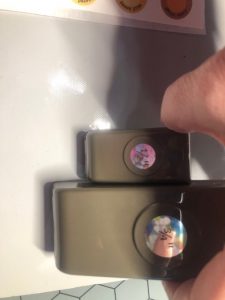
- Use the 1/2″ circle first and cut the center of the circles. This is easier to do first so you have something to hold onto while punching.
- Then take the 3/4″ circle punch and cut the circles out around the outside of the colored circles.
- Slip them over the eye dropper top. I chose NOT to take the adhesive off. I think they will stay on the tops just fine and then can be moved to new bottle if needed. However the adhesive helps make the label thicker and not flimsy that could tear easily.


I also added colored labels to the sides of my ink pads. It really helps identify the color that you need. Another “bite the bullet” moment…. these Stamp-N-Storage ink holders are AMAZING!!!

I hope these tips are helpful. They are super helpful for me.
As always, purchasing your crafty products from my affiliate links thru my blog or posts are appreciated.
Leave a Reply