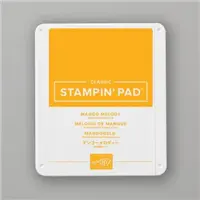
Today I received my pre-order for the new Stampin’ Up catalog. OH MY GOODNESS! These products are truly amazing and Stampin’ Up outdid their selves. My first project I created was with the Blossoms in Bloom. I was anxious to see how the dies worked. They are so versatile. Here is a project with all three, the stamp and the two large layering dies. I used the Melody Mango and Flirty Flamingo ink pads to create the flower color. I inked with the Melody Mango first and then used a dauber to add some Flirty Flamingo in the center. There are two smaller flowers around the sentiment that I popped up with mini dimensionals.
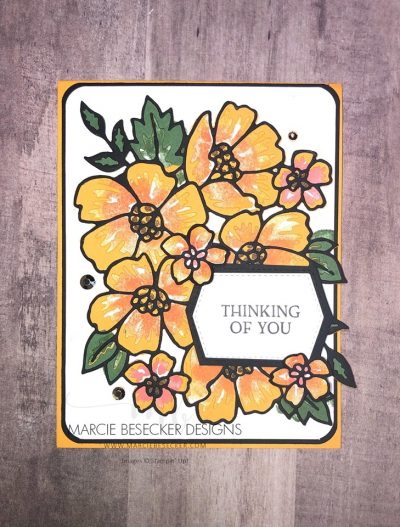
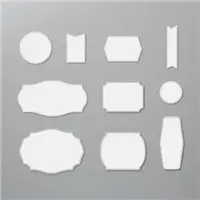
I then used the more solid die to cut a Melody Mango layer, then the thin layer die I cut in Basic Black cardstock. I also used the Tasteful Labels too create the sentiment. This particular die has a stitch cut on the Whisper White and also on the piece you cut from. So I cut another die piece from Basic Black cardstock. I cut the stitched outline on the Basic Black and adhered it to another black piece, because the center was cut out. I layered it with the white piece and then used my larger scissors to cut around the stitching. This created the back layer for the sentiment. This may sound a little confusing but I wanted the stitching on the back layer. This particular die was really easy to make a back layer.
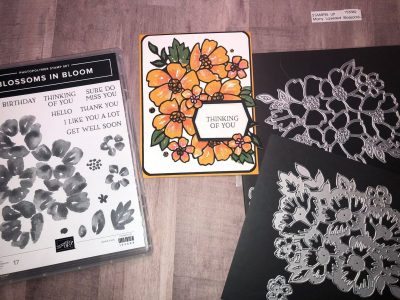
You can also not stamp the image and just do the two die cuts. You could actually put this on a vibrant colored cardstock to fill in the colors of the flowers. (Hmmmm, I’m going to have to try this). You can see from the picture above that the flowers have a watercolor look. You could skip the more solid layer and just create a stamped image and then add the outline onto the stamped image.
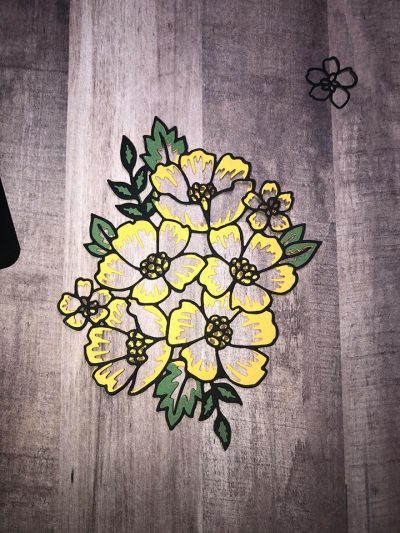
As you can see in this photo, I decided to cut the solid image in Garden Green paper. This added a pop of color to make the leaves look a little darker. My recommendation is that you could use the top thin layer as a stencil and stamp your leaves and mask the flowers. You can see that there are many ways to create a great project.
I hope you enjoyed this project. I have created a video of my first haul of sneak peeks. If you would like to see it you can see it on my blog thru this link (videos are not available on mobile devices thru email). Click on the blog link to see the video. You will see a lot of awesome stuff.
.
I will be doing a paper share with the new Designer Series Paper. If you are interested in participating, please go to the top of my blog and hover over the Events and Classes menu item. You will see the sign up form option pop up. I will be posting more details as I get them. The video of the sneak peek explains more about the Paper Share.
Thanks for stopping by.
I am adding my project to the Watercooler Wednesday challenge.







Gorgeous card Marcie. Love the colours and colouring on your flowers . Thanks for joining us this week at the Watercooler Wednesday Challenge and sharing the sneak peek. Tristan DT.
Thank you and thanks for stopping by.
That is a gorgeous card! I love the way you showed the different ways to use the set and dies. The unboxing video was really good too. I had all of the things but one that you showed. Can’t wait to see your samples. 🙂
Thanks Char!