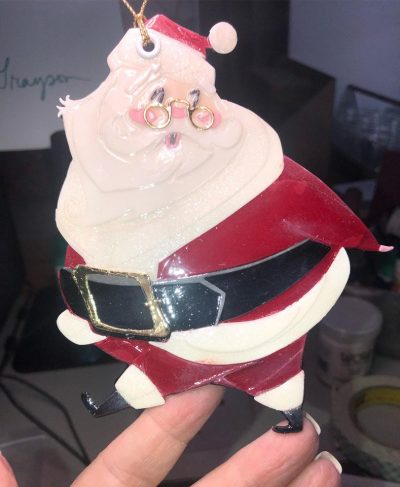
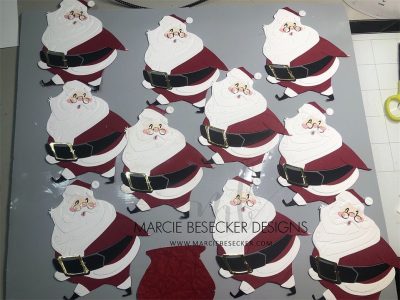
This is the Jolly St. Nick die. I believe it has something like 47 pieces. I wanted to do something different than a shadow box or a card so I decided to create ornaments. A secret. 🤫🤫🤫 I put one together and then scanned it with a low amount of colors on my Scan N Cut. This is how I create a black backside of the ornament. I made several copies to add on the back of already made santas. DON’T DO THAT. You don’t glue them each exactly the same so my suggestion is, use that as a template underneath your gluing so you can glue them all very close to the same. This way the black cardstock will align correctly.

I then used Journey Glaze from Fun Stampers Journey to glaze the ornaments. It was a slow long process because I wanted to really glaze them well. I stashed them away on a high shelf for days, then turned them over and did the other side, glazing the coat fur first so I could add the sparkle cuts to it. Then I glazed the rest. I used my crop-a-dial to create the hole at the top of the head, added an eyelet and some gold rope thread that I had on hand to hang the ornament from the tree.
Although this project was a lot of work because there were so many pieces, once you do one the rest are a breeze. Here is a photo of a few I made.


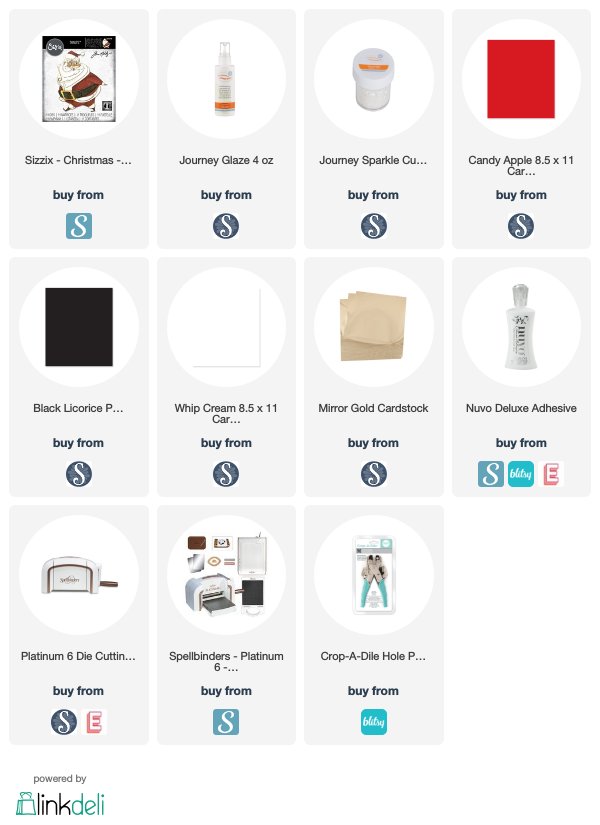
Note: The links below are affiliate links, meaning that I may make a small percentage of the sale back from the seller. That being said, I purchase my own supplies and only recommend products and companies that I personally use.

Leave a Reply