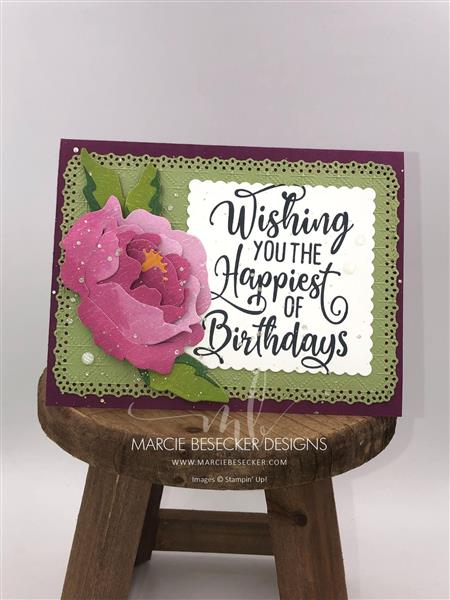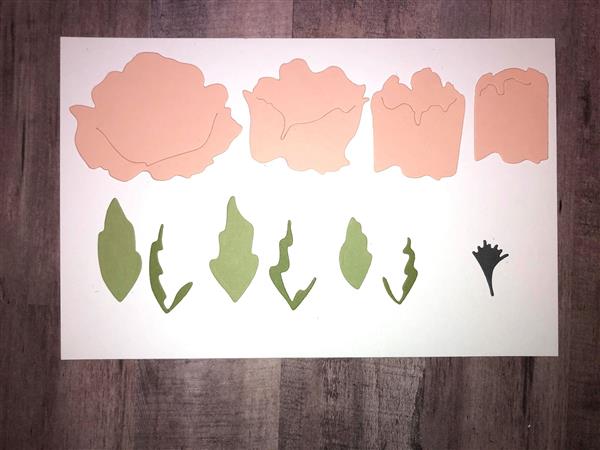
The Artistry Bloom Peony is very easy to create. Here is a layout of the dies you will need. I fold this diagram up and keep it behind my dies so I use it when I am ready to create the flower and leaves.

On this project I used the Artistry Bloom Designer Series Paper and created a fun peony with the ombre type color with this paper. I also used the greens in the paper pack to create the leaves.
Layer your flower together. I start with the largest piece and work my way down to the smallest. Adhere glue dots to the bottom and follow the curve on each image and align them together.
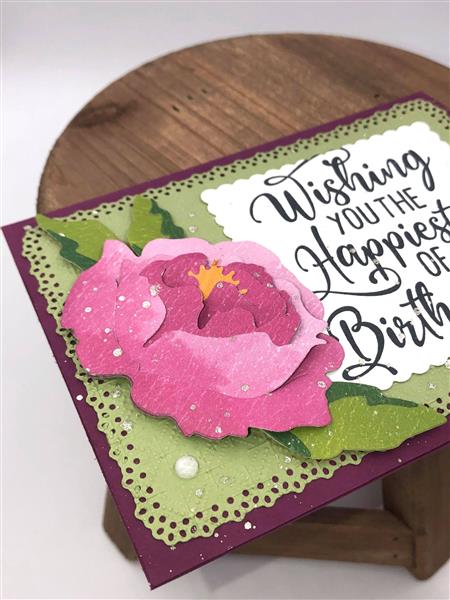
I glued the flower flat onto my project but before I did that I added some dimensionals in between some of the leaves of the flower to make it a little “fluffier”.
Align the smaller darker green die cuts onto the larger leaf images to create each leaf.
Die cut the large ornate die to create this fun edge around the rectangle then emboss it in the Dainty Diamond embossing folder.
Stamp the large happy birthday sentiment and die cut it with the largest scalloped square die. It is a very close cut but it works.
When everything is adhered together, don’t forget to add the Elegant gems and sprinkle some Wink of Stella on the card.

Video
Here is the PDF: Artistry Bloom Peony PDF
SALE SALE SALE
Wednesday ONLY (September 23, 2020) there is a 15% off sale on select stamp sets. Don’t miss out! See more details here:
I hope this video and blog were helpful for you. Please do not hesitate to ask my any questions. Have a great week.


Leave a Reply