• Skip to primary navigation
  • Skip to main content
  • Skip to primary sidebar

Marcie Besecker Designs

Paper Crafting is my therapy!

  • Home
  • Online Exclusives
    • Online Exclusives
    • Available Kits
  • Bingo/Classes/Paper Share/PDFs/Misc
    • Bingo / Classes / Paper Share / PDF / Misc
    • Shop Stampin’ Up! Online
    • IN-PERSON Classes
    • Video/PDF Only
    • Join Paper Pumpkin
    • Clearance
  • Videos
  • Join My Team
  • About Me / Contact
  • Team Home
    • Team Meetings
    • PDFS
    • Quick Reference
  • Request a Catalog
  •  

Golden Painted Poppies – Stampin’ Up

September 20, 2020 Leave a Comment

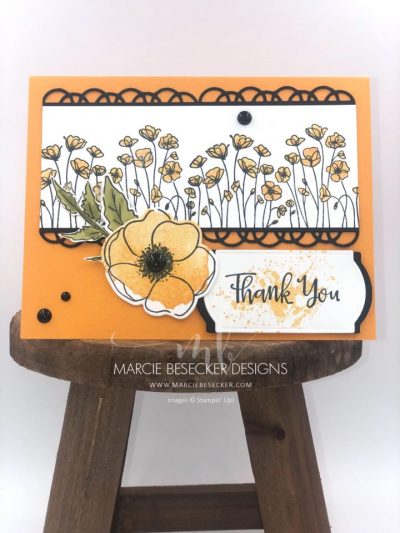
When I saw the Painted Poppies stamp set my first thought was to create some Golden “California” Poppies.  One of my favorite Stampin’ Up colors is Mango Melody so this was a perfect pair to create with.

Measurements

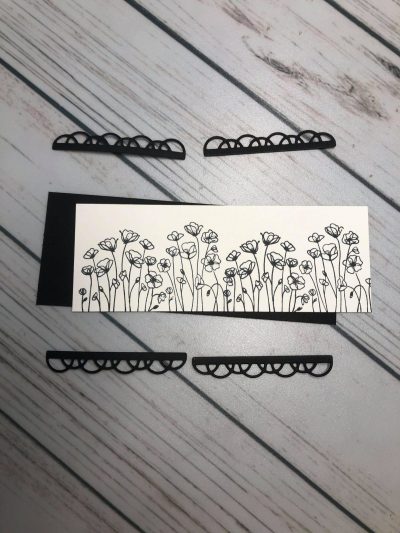
4 – border pieces from the Painted Labels dies
1 – 2″ x 5 1/4 Whisper white cardstock (it will be cut down to 5″ once you decide which end to cut after you stamp)
1 – 2″ x 5″ Basic Black cardstock
A piece of Basic Black cardstock enough to cut 4 border pieces from the Painted Poppies bundle.
1 – 4″ x 5 1/4″ Whisper White cardstock for the inside of the card.  Stamp the bottom of the inside panel with a flower of your choice from the stampset.
Whisper White cardstock to stamp the flower, leaves and sentiment.

I really like the look of this cute border.  I may need to die cut a lot of them out to have on hand.

Instructions

  • Stamparatus to stamp the multiple poppies to create a field of poppies.
  • Mango Melody Stampin’ Blends to color in the poppies.
  • The Mango Melody to take the background image of the poppy and stamp the flower.
  • Use Mango Melody to stamp the splatter image over the sentiment text (from the Peaceful Moments sentiment set).
  • You can use the Timeless Label Punch or the second label die from the Painted Poppies bundle.
  • Stamp and color the two different leaf images from the Painted Poppies stamp set with Old Olive blends.
  • Lightly brush Wink of Stella over each poppy, including the larger one.
  • Adhere rhinestones or enamel dots of your choice.  I just happened to have some black ones in my stash.

Video

Golden Painted Poppies Video

Thanks for stopping by.  Don’t forget to subscribe here and on YouTube!

Supplies


Filed Under: Flowers, Poppies, Techniques Tagged With: flowers, Poppies, thank you

Subscribe

to receive my articles delivered to your inbox!

I have been stamping on and off for over 25 years. I love learning new tips and finding new products and then sharing on my blog. I hope you'll subscribe and enjoy my posts. Thank you Read More…

Previous Post: « 🐧 Tis’ the Season to be Freezin’
Next Post: Artistry Bloom Peony »

Reader Interactions

Leave a Reply Cancel reply

Your email address will not be published. Required fields are marked *

Primary Sidebar

Shop my Online Stampin' Up! Store
  • Facebook
  • Instagram
  • Pinterest
  • YouTube

Marcie Besecker

Paper Crafter
Contact Me!

2025-2026 Annual Catalog

2025-2026 Annual Catalog

2025 Holiday Mini Catalog

Stampin' Up! Holiday Mini Catalog

STAMP N STORAGE SHOPPING

I love the products from Stamp-n-Storage. In full disclosure, I am an affiliate with Stamp-n-Storage which means I may get commissions if you click on links I provide and decide to purchase anything from this company. I highly recommend this company.

The content in this blog is the sole responsibility of Marcie Besecker as an Independent Stampin' Up! Demonstrator. The use of and content of classes, services or products offered is not endorsed by Stampin' Up!

[mc4wp_form id=”975″]

Archives

Categories

Content © Marcie Besecker, All Rights Reserved. Privacy Policy
Genesis for Wordpress customized by WebsByAmy.