I haven’t created a Never Ending Card in a very long time. A viewer had asked me if I could do a fall themed Never Ending Card on YouTube so here it is.
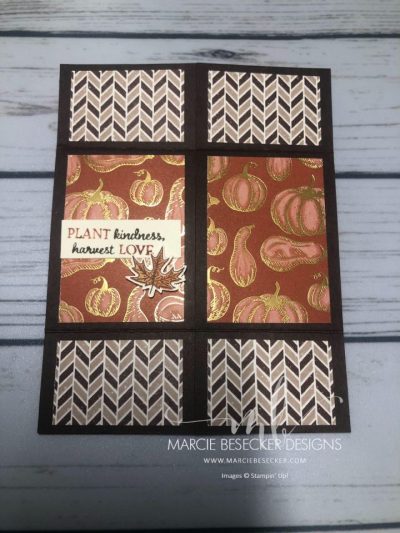
This card looks like it is difficult but it is very easy.
Materials:
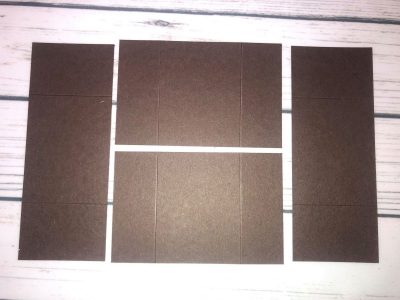
Base Piece 1
(2) 5 ½ x 4 ¼” Base Solid Cardstock
Score 1 at 1 ⅟16” on the 4 ¼” side. Turn and score the opposite side at
1 ⅟16”.
Place back into trimmer on the 5 ½” side and cut in half at 2 ¾”.
Base Piece 2
Take other 5 ½” x 4 ¼” and place it in on the 5 ½” side. Score at 1 ⅜”. Turn to the opposite side and score again at 1 ⅜”.
Put back in on 4 ¼” side and cut in half at 2 ⅛”.
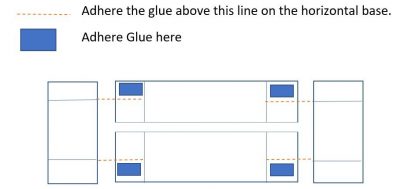
Lay panels out and apply adhesive. Adhere the glue on the horizontal base in the corners but above the score line on the vertical pieces (above the red line).
Adhere vertical panels on top of horizontal base panel. The card is now ready to decorate.
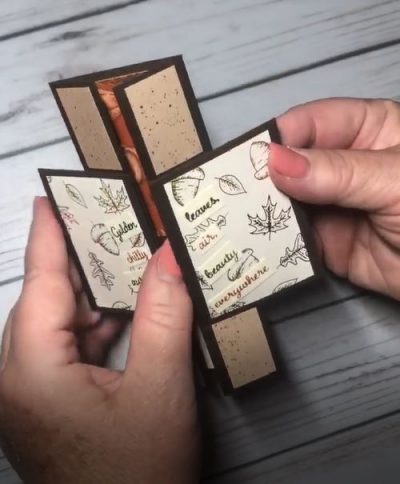
NOTE: Make sure when you fold the first page and crease it that the backside does not overlap (video shows example).
Decorating the Panels
Use DSP or stamped papers
Page 1
(2) 2 ½” x 1 ¾” pieces
(4) 1 ⅛” x 1 ¾” pieces (recommended matching but different than the first two)
Add a small sentiment
Page 2
(2) 2 ½” x 1 ¾” pieces
Add sentiment measuring 1 ¾” x 1 ⅛”
Page 3
(2) 2 ½”x 1 ¾” pieces
(4) ¾” x 1 ¼” pieces
Add sentiment but vertical may be best to hide when the panel is showing on the outside in the previous fold. Hint: Cut words out and stagger them to create a fun effect and not show on the outer edges.
Back Panel
(1) 2” x 2 ½” piece
(1) 2” x 2 ½” piece of Whisper White or Very Vanilla for writing
(4) ⅞” x 2 ½” pieces
Whola, your beautiful card is done. The directions below are also here in a PDF NeverEnding Card for you to print out.
On my blog and in YouTube there is a video showing me create this card. If you click the Highlighted Title above you can link to my blog and view the video.
Changes to the way you see Supplies thru Links
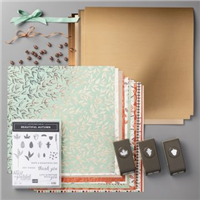
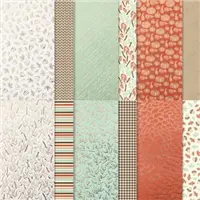
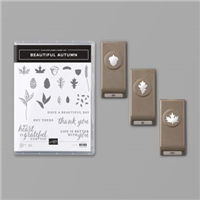
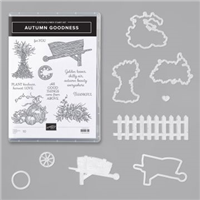
The supplies I used are listed below. These links will link directly to the item within my store until August 4 then you will be linked to my home page as Stampin’ Up is launching a new website and the links will differ. To easily find the item, copy the item number next to the item that you want to see before you click the link. Then just paste the number in and you will be taken to the direct project.
On August 4 forward, the links I enter into my posts will be the updated links and will take you directly to the image and information of the item you are wanting to see. Thank you for being patient during this change. The site is definitely more user friendly and has some great updates.

Supplies:






Leave a Reply