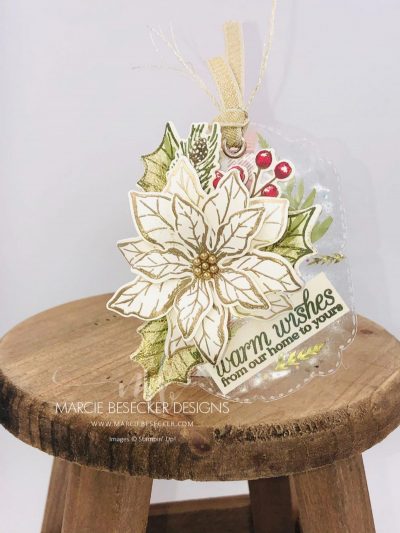
I wanted to create this Vintage Poinsettia Ornament or Gift Tag with a twist. This ornament or tag matches the Vintage Poinsettia card I recently created.
Instructions:
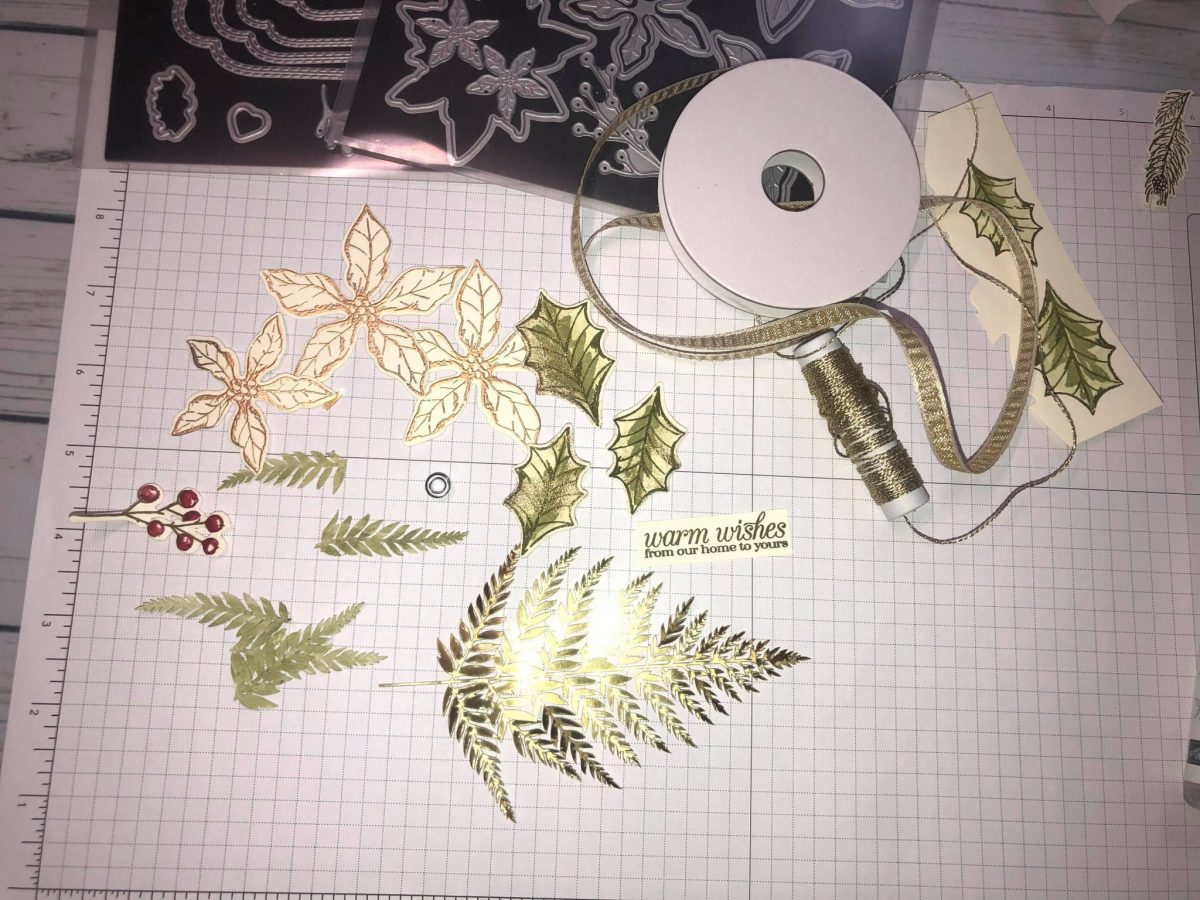
Using the Poinsettia Petals Bundle, I had left over supplies from the card I created so I used it for the tag. I used the fern looking branch from the Forever Fern Laser Cut Specialty Paper to create the small branches. This is gold on one side and I colored Mossy Meadow blender on the other to tie in the colors. After you color the laser specialty image you will break it up into individual leaves.
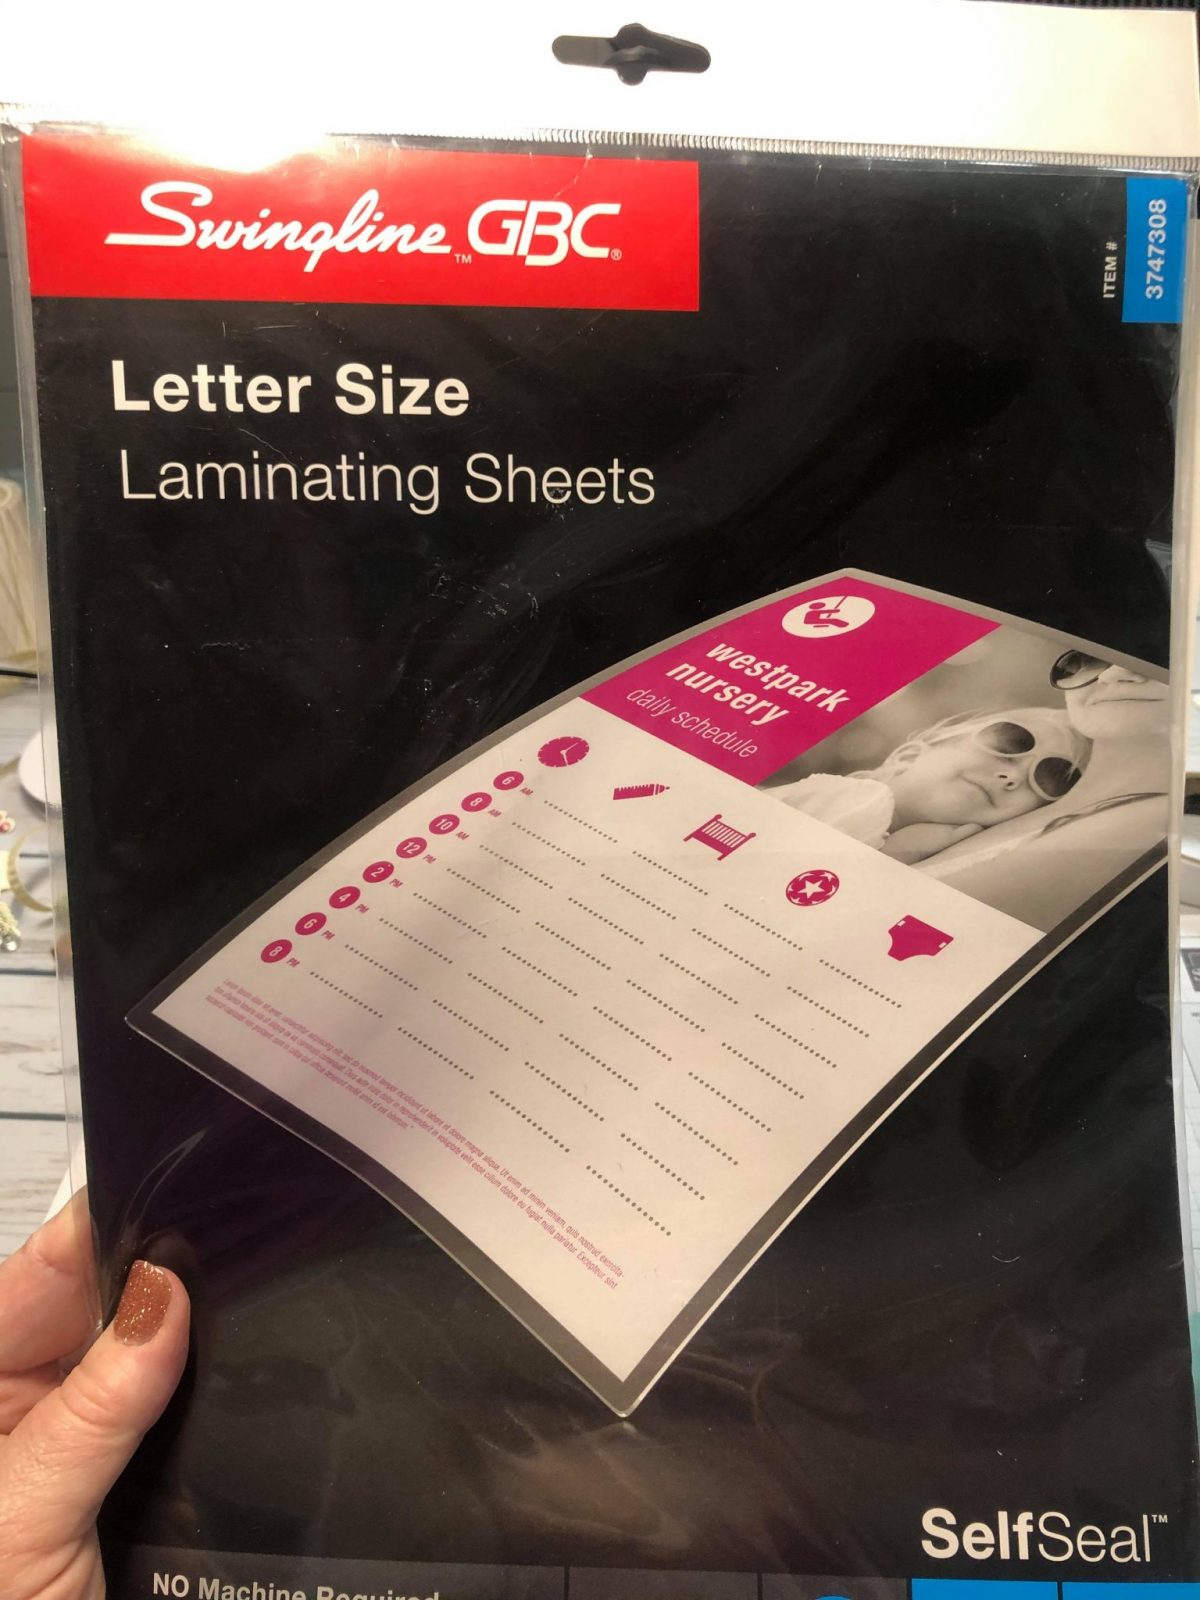
I tried three different ways to create the foundation of the tag. I used the Celebration Labels Dies to create the shape of the ornament/tag. Use the 2nd from the smallest. I first tried the Stampin’ Up window sheets with our adhesive sheets. It definitely works but comes up a bit cloudy or frosty looking. Not horrible but I wanted to try the self laminating sheets (no machine needed). Below is a photo of the window sheets used.
I tried the regular two sided laminating sheets and they worked fine but were a little stiff on one side. Once I tried the one shown below, which I used on my video, that was the one! It was a softer feel on both sides but stuck well and you can use a smaller amount at a time. See below video for details.
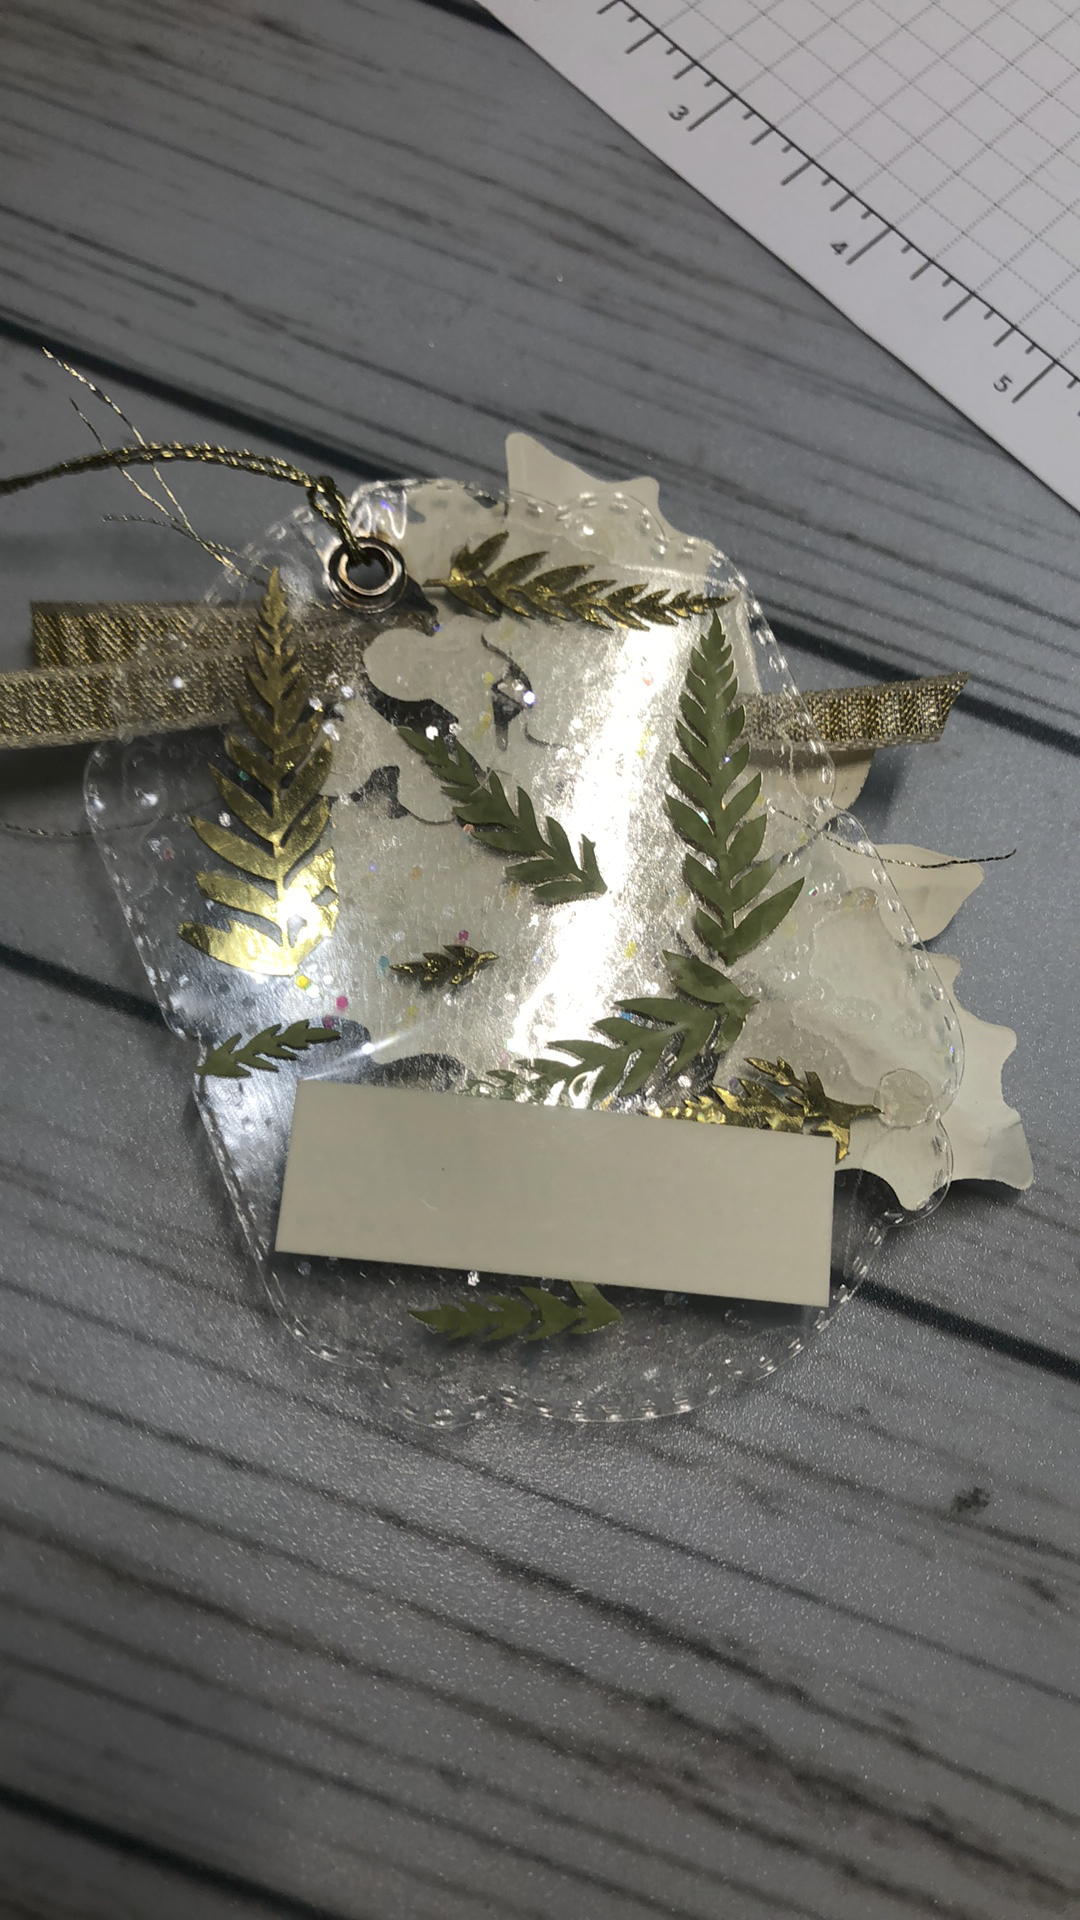
In any case, you want to double the size of the tag so you can overlap it. It is best to cut a piece that you can score to fold. Open the the laminating sheet and add your bits and pieces from the laser specialty paper that you colored and broke up into bits. This of this part as pressing flowers. Add the leaves with some gold side up and some Mossy Meadow side up. I sprinkled a little bit of iridescent glitter just to add a little sparkle. You don’t want to add too much because you want to make sure that you two laminating sheets adhere together. You will also add a sentiment here too.
TIP: Lay your die down carefully onto the sticky part of the sheet while you are placing your bits onto the sheet so you know they will be placed within the tag area. Keep in mind that your flower will be popped up on part of the design.
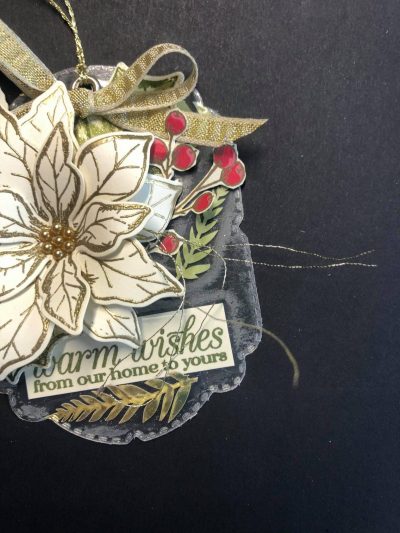
You can see the bits and then the adhesive parts on the back but either hanging on a tree or attached to a package you really won’t see it. A viewer on YouTube mentioned that you could take a piece of matching cardstock (in this case Very Vanilla) and create a tag to add to the back and put a to and from on it. Brilliant idea!
Once you fold your laminating sheet over, I use my bone folder to really rub over and make sure that the two sides are adhered together. Now you decorate your tag/ornament with your poinsettia and different pieces from your card. Making extra pieces when you make your card is helpful to have on hand for this type of item.
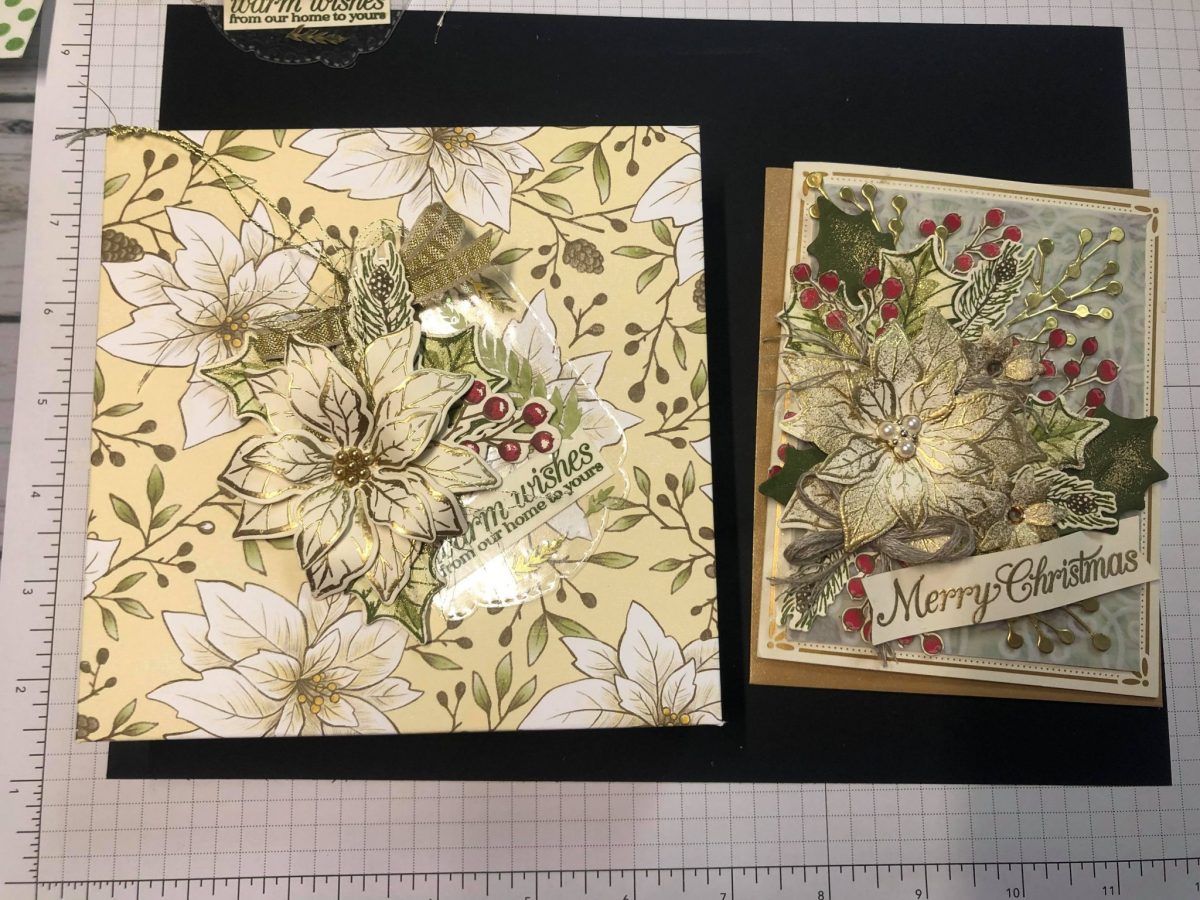
Finished Project
Here is a photo of what your package and card set can look like. On the card I added more gold to the poinsettia and green leaves (see video linked above). You can do the same for this poinsettia. It is all about preference. This is a gift box with the tag and a card. I love giving sets like this. It really shows you put a lot of thought into it.
Video
The video will show you how to create this project and the difference between the different laminating products.
Challenge
October is my birthday month and I am hoping to sell 55, yes 55, packages of DSP this month. Get a FREE package of Holiday Rhinestones for every 3 packages of DSP that you purchase through me. Here is October’s link to shop, just type in Designer Series Paper if you want to get some paper on sale. Thanks!!

I hope you enjoyed the video and thanks again for stopping by. I really appreciate your support and comments. Have a great week.

Supplies (listed on blog)
Leave a Reply