This bundle is amazing. It creates great cards with just the stamps and has dies for the stamp set and additional greenery dies. This post will show you some different ways to stamp the images and get darker, bolder cards and also lighter, more subtle images. Then I created a fun full sheet of DSP.
In the video I share that I created the front focal panel first and they sat for some time before I found how I wanted to finish this card.
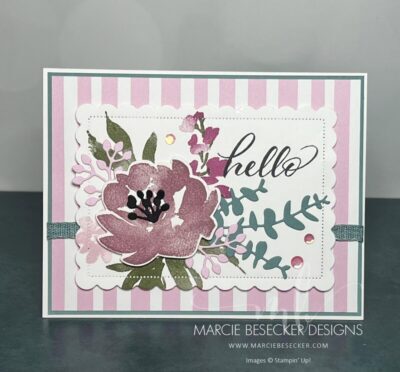
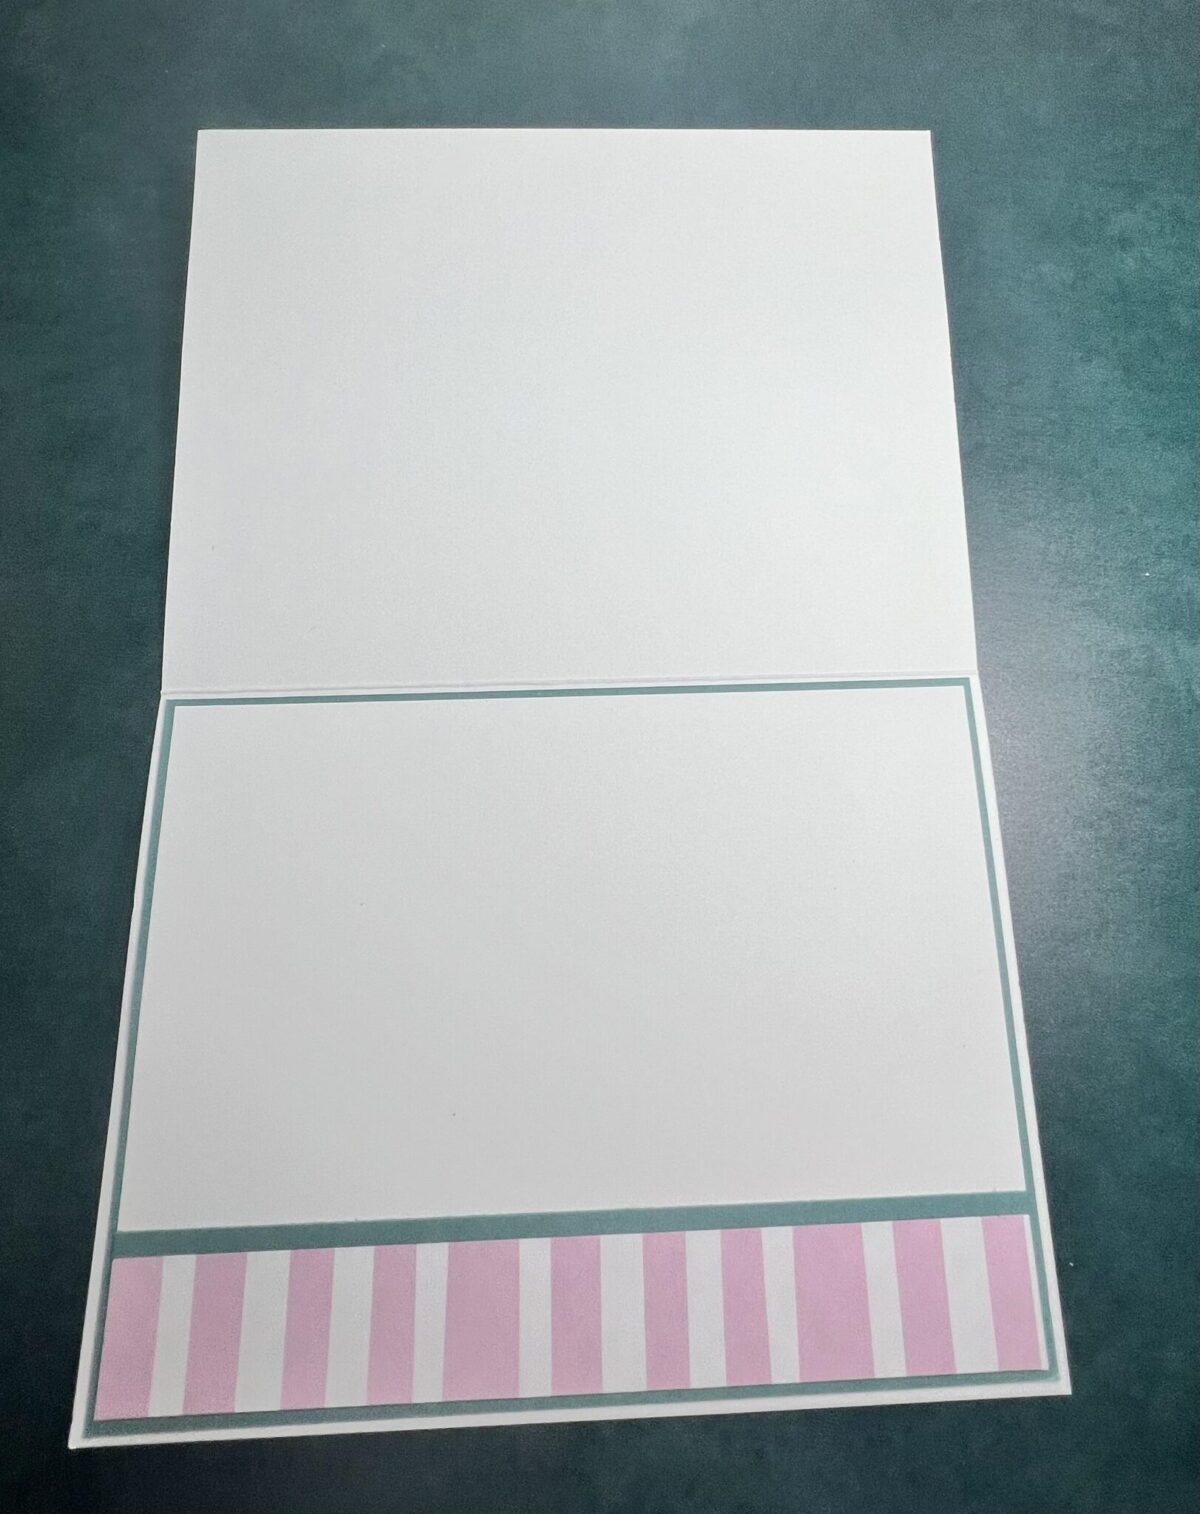
I decided to add the striped DSP on the inside to finish off the card.
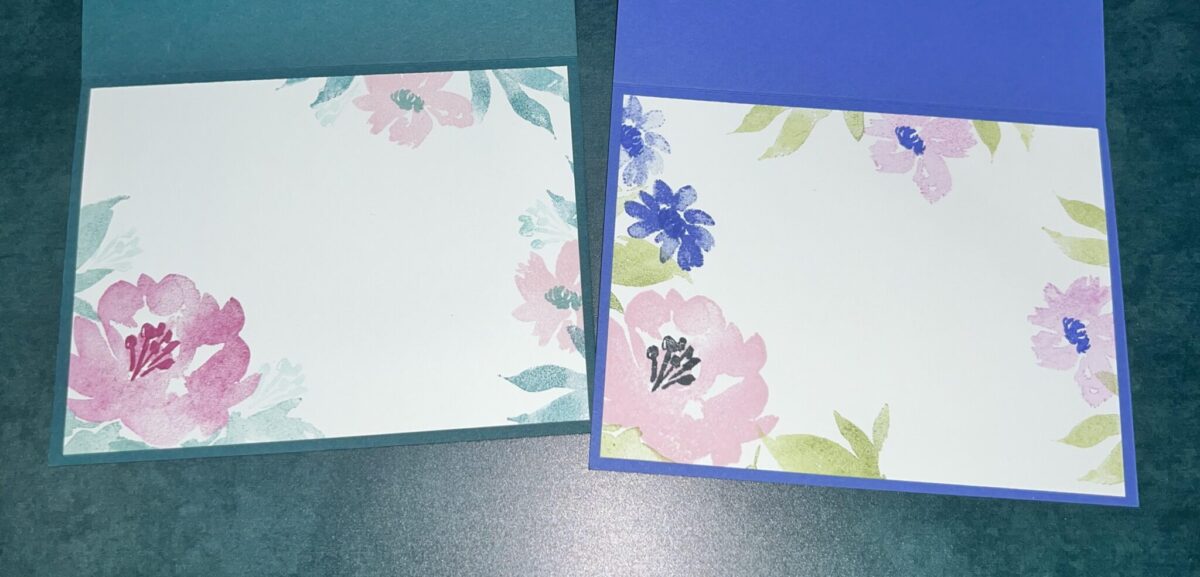
We recreated the card on the right with the Orchid Oasis. However we did not stamp off like we did in this photo. We kept the ink bold and it came out fantastic.
I enjoy creating cards like this because you can stamp and be creative and your stamping doesn’t have to be perfect. Just choosing the colors seems to be the hardest part.

The inside of these card were stamped. I think I am going back to stamping the inside for most cards. Obviously some with be better with a DSP trim . I guess it just depends on the card.
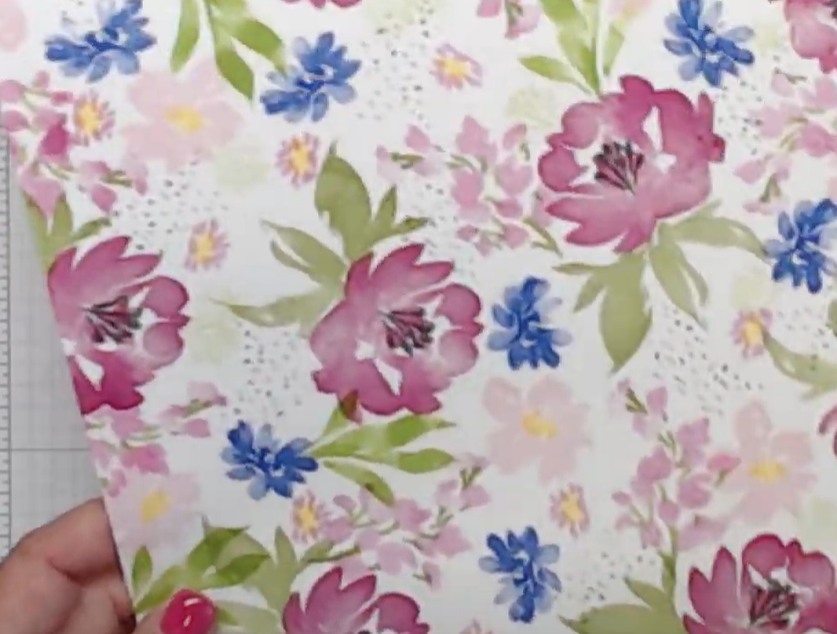
After we finished the cards, I showed my thought process on creating an 8 1/2″ x 11″ sheet of DSP. I really enjoy doing this and it makes gorgeous cards. The cards will be created on another video and I will give them away.
I hope you enjoy the video. Let me know if you have any questions. Thanks for stopping by.
Video:
Video of this project HERE.
Supplies:
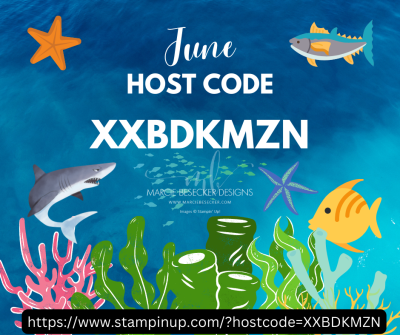
JULY Host Code
Please use this Host Code on any orders below $150. Thank you!
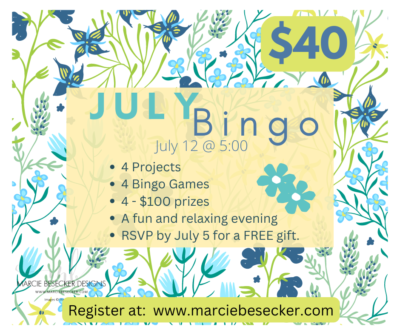
JULY BINGO
Join me for a fun day of BINGO!!! We will be creating fun projects, playing Bingo, giving prizes and having a day of laughter and crafting. I will mail you kits for each project I make and add time stamps in the description of the video so you can zoom through to the next project and skip re-watching the Bingo chatter 🙂
Register NOW! Share this event with your friends too!
Cost: $40
Date: July 12, 2023 (Wednesday)
Time: 5:00 PM PST (we will start with a card so join as soon as you can for Bingo)
Prizes: There will be 4 awesome prizes (1 main winner per game) and some extra goodies with your kit. Additional winners will receive a consolation prize.
RSVP: There are still kits available.
Share the event with your friends. The more the merrier.
Bingo Facts:
-
- Prizes: 4 – $100 shopping sprees in my shop.
- Sometimes a PDF will be included, depending on the difficulty.
- I will post the supplies used as soon as I can
- The Make N Take kits will be mailed out shortly after the live event.
- On the Registration form you must choose 5 Bingo numbers, separated by a comma (1-30). (example: 1, 25, 7, 19, 3)
- Please print out your registration form you will receive in your email so that you have your numbers handy.
- Payment must be sent to confirm your spot.
- Each winner can only win one game. If you win a consolation prize you can forfeit the prize and continue trying for another bingo.
- If you are a winner of a gift certificate, you will email me your order and I will invoice you the difference. Of course you can add more items to your order.
- The video will be available for you to create your projects at your convenience.
- I will time stamp each project on my YouTube video so that you can easily go back and create your kits.
- Supplies are subject to change due to availability but will not change the character of the project.
- Winners must get their orders in during the same month that they win.
- There must be a minimum of 25 people participating. I need to at least cover the cost of the prizes.
HINT: Add your numbers to your phone on the date of the event so you have them. OR Screen shot them and keep them in your phone.
US Residents only for product wins (company rules).
We will have a lot of fun and I hope you will join us.
The earlier you register and pay, the sooner I can have all of the kits ready to mail.

NEW —–REGISTER AND PAY HERE
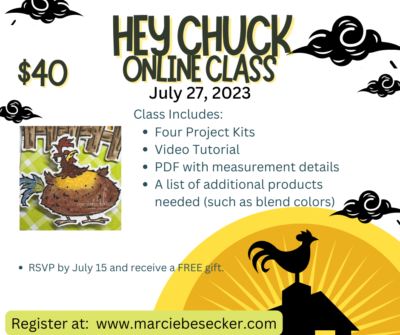
Hey Chuck Class
The Hey Chuck class will be so much fun. I have created 4 awesome projects. One card will have a fun new element to my cards. There will be coloring! However, I do have some other options to share with you.
Cost: $40 with kits and $25 for Video and PDF only
Date: July 27, 2023 (you will receive your kits, video link and PDF by this date).
Projects: 4 projects
Register:
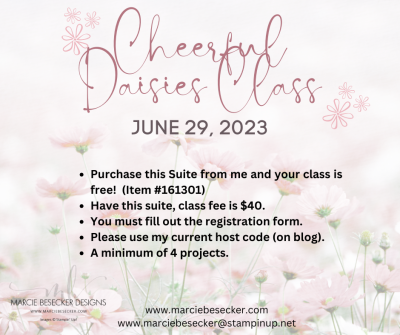
Cheerful Daisies Class
The kits have been mailed but I still have a few left. You will receive the video link and PDF by June 29th.
Let’s have fun and create four projects with the Cheerful Daisies Suite.
Want the class for FREE?
- Cost: $40 with kits and $25 for Video and PDF only
- Purchase the Suite from me and get your class free! (#161301)
- Use my current host code.
- Register for Kits, PDF and Video Link HERE
- Register for PDF and Video Link ONLY HERE
Supplies: Inks and Blends you will need for this class:
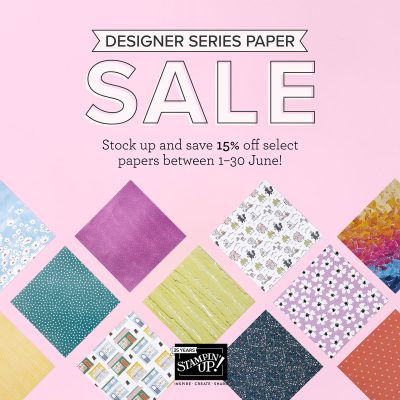
DSP Sale
Who doesn’t love a DSP Sale. Now is the time to stock up on your favorite DSPs. Check out the list to see if your favorites are on sale.
Join My Team (click here) – Bonus Starter Kit
Sign up now and you are guaranteed to be a demonstrator through the end of October. You only need to have $300 in orders by then to continue into your next quarter. This will take you into our new Annual Catalog and pre-order! Yay!!! You can join to just get a discount or create a business. I have both types of demonstrators on my team and welcome both.
I’d love to have you join my team. Now is the time to give Stampin’ Up! a try. Who doesn’t want to get their favorite crafting products at a discount. Let me know if I can help answer any questions for you.

RETIRED ITEMS FOR SALE!!!!!
I am pricing items to sell! Don’t miss out.
STAMPIN’ UP BLEND LABELS
I created a PDF that in color and black & white. You will get both in one PDF. You will print the page you prefer (colored or black and white) and print it twice. This way you can add a label onto the end of both ends of your marker. The directions are on the PDF here they are again.
- Print the document on Basic White Cardstock.
- Adhere the cardstock onto adhesive sheets. (Save adhesive sheets and cut out just the labels from your cardstock).
- You can use a 1/2″ or smaller (I used a smaller one) to punch these labels out.
- If you use the black and white one, you can use your marker to create a line on the label to show the color.
I will share how I do these on Wednesday’s Bingo video at the beginning.
YOU CAN PURCHASE THE STAMPIN’ UP! BLEND LABEL PDF HERE.
Paper Pumpkin
Sign up for Paper Pumpkin by the 10th of the month to get the current Paper Pumpkin.
You can JOIN HERE
Stamp N Storage Organization
Just in time to organize your room for the new catalog!
I am asked often about my magnetic cards and pouches. Click on this link(s) below and it will take you through my affiliate link directly to the product. They have awesome ink pad, paper, punch and ribbon holders too, among many other amazing products.


Leave a Reply